How to take a screenshot on a Mac? There are a number of simple ways to take screenshots! You can snap the whole screen, some part of it, or one window or menu. These functions can be performed using the Screenshot app that comes with macOS Mojave and later versions. While in macOS High Sierra and earlier versions use Grab utility tool.

Key Takeaways
- Master the art of capturing screenshots on your Mac with various keyboard shortcuts and built-in tools.
- Discover the power of precision screen-snipping for detailed captures and quick sharing.
- Explore the versatile screenshot utilities, including the Grab app, and unlock their full potential.
- Customize your screenshot settings to streamline the process and tailor it to your needs.
- Enhance your screenshots with advanced editing options, including annotations and annotations.
So, let’s dive in and unlock the secrets of Mac screenshots. You’ll be able to capture, share, and preserve your digital moments with ease and style.
Mastering Mac Screenshot Shortcuts
Capturing screenshots on your Mac is easy with the right shortcuts. You can quickly grab the whole screen, a single window, or a chosen area. Just use the right keys to get the job done fast.
Keyboard Combinations for Quick Captures
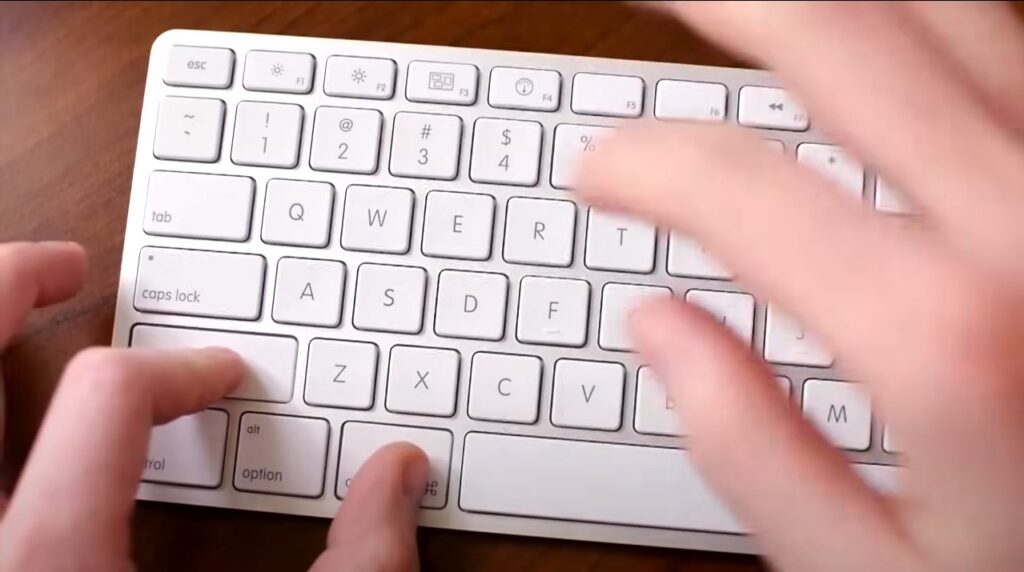
To take a full-screen screenshot, press Command + Shift + 3. For a specific window, use Command + Shift + 4, then hit the spacebar and click on the window you want. To capture a selected area, press Command + Shift + 4, then drag to select the area you want to screenshot.
Tips for Precision Snipping Tools
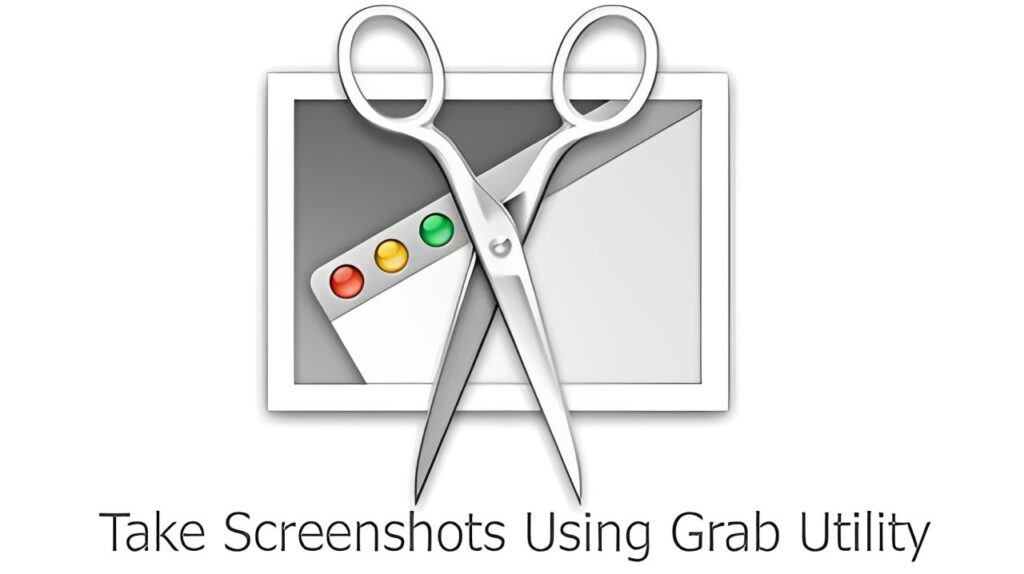
The Mac Grab utility gives you more control over your screenshots. With Grab, you can capture a specific area, delay the screenshot, and even take timed shots. Check out the mac snipping tool options to find what you need.
Learning these screenshot shortcuts mac makes you work more efficiently. It also helps you create great content easily. These tips are useful for both professionals and casual users, changing how you capture and share screenshots on your Mac.
How to take a screenshot on a Mac
Taking screenshots on your Mac is easy and useful for sharing info, fixing problems, or documenting your screen. You can quickly capture a full screen or a specific part, depending on what you need.
To take a screenshot on a Mac, use these keyboard shortcuts:
- Command + Shift + 3 to capture the entire screen
- Command + Shift + 4 to select an area of the screen to capture
- Command + Shift + 5 to access the screenshot utility and customize your capture

With the Command + Shift + 4 shortcut, your cursor turns into a crosshair. You can then click and drag to pick the area you want to capture. Let go of the mouse or trackpad to save the screenshot to your desktop.
The Command + Shift + 5 shortcut opens the screenshot utility. Here, you can capture the whole screen, a single window, or a custom area. It also lets you record your screen, which is great for tutorials or capturing moving images.
Learning these shortcuts can boost your productivity. It makes capturing, sharing, and organizing important info on your Mac easier.
Read Also: When Is Hamster Kombat Token Listing?: Here’s the Latest Update
Exploring Built-in Screenshot Utilities
As a Mac user, you have a powerful tool called Grab at your fingertips. It’s a screen capture utility that lets you take screenshots easily. You can capture specific areas, windows, or the whole screen.
Grab: The Versatile Screen Capture Tool
Grab is a hidden gem in the Mac world. It has a user-friendly interface and many features. These make taking and managing screenshots easy. With Grab, you can:
- Capture a specific area of your screen by using the “Selection” mode
- Take a screenshot of an entire window with the “Window” mode
- Capture the entire screen using the “Screen” mode
- Perform basic editing tasks such as annotating, cropping, and saving screenshots
To use Grab, just look for it in the Utilities folder of your Applications directory. After launching the app, you’ll see options for your screenshot needs. Whether you want to capture a specific area, document a window, or take a full-screen shot, Grab can do it.
Using the mac grab utility can boost your productivity and workflow. It lets you quickly capture and share visual information without extra software. Explore what this built-in mac screenshot tool can do. It opens up new ways for effective documentation, collaboration, and visual communication.

Customizing Screenshot Settings
As a Mac user, you can change your screenshot settings to fit your needs. You can make capturing moments on your screen more efficient and personal. By exploring the different options, you can find a way that works best for you.
One of the first things you might want to change is the default file format for your screenshots. Mac screenshot settings let you pick from formats like PNG, JPEG, or GIF. This is great if you often share your screenshots or use them in presentations or documents.
- To find these settings, go to the “Capture” section in your Mac’s System Preferences.
- Then, pick a file format that meets your needs, whether it’s high-quality images or smaller files.
Another important setting is where your screenshots save. By changing where they save, you can organize them better and find them easily. Maybe you want them on your desktop or in a specific folder on your Mac.
“Tailoring your Mac’s screenshot settings can significantly improve your productivity and workflow.”
Don’t forget to look into extra options like adding a timer or a drop shadow to your captures. These changes can make your screenshots look better and more professional.
Using the flexibility of mac screenshot settings lets you make taking screenshots easy and effective. This way, your captured moments will look good, be easy to find, and be well-organized.
Advanced Screenshot Editing Options
After taking a screenshot on your Mac, the real fun starts. Explore advanced editing options to make your captures stand out. You can turn simple screenshots into stunning visuals.
Read Also: How to Install LMC 8.4 R18 APK Download
Annotating and Enhancing Screenshots
Mac has built-in tools for annotating and enhancing your mac screenshot edit. Add text, draw shapes, and highlight important parts to make your point clear. Use markup tools to make your screenshots more engaging.
Here’s how you can edit your screenshots:
- Annotate with text, arrows, and shapes to highlight important parts
- Use highlights, blur, and other effects to improve your screenshots
- Crop, resize, and adjust your mac screenshot edit for better composition
- Add logos, watermarks, or custom branding to match your brand
These editing tools are easy to use on your Mac. They help you create professional-looking screenshots quickly.
Mastering mac screenshot edit can improve your communication and presentations. Your visuals will grab attention and leave a lasting impression.
Best Third-Party Screenshot Apps
Your Mac has great screenshot tools, but third-party apps can take your screenshots to the next level. These apps offer lots of customization, easy cloud sharing, and strong editing tools. They make capturing, organizing, and enhancing screenshots easy.
Top Picks for Mac Screenshot Tools
Check out some top mac screenshot apps to improve your workflow:
- Lightshot – A simple screenshot tool with editing and sharing features. It has a user-friendly interface and many editing tools for professional images.
- Snagit – A full-featured app for screenshots and screen recordings. It includes image editing, video capturing, and cloud sharing. It’s perfect for power users and creators.
- Monosnap – A versatile app with easy capture tools and a sleek design. It works with cloud storage, making sharing screenshots easy across devices.
- CleanShot X – Offers innovative tools like capturing scrolling pages and recording GIFs. It also has a customizable mac screenshot app and screenshot shortcut mac for efficient workflows.
These apps can boost your productivity and creativity. They let you capture, edit, and share screenshots with great precision and control.
| App | Key Features | Pricing |
|---|---|---|
| Lightshot | – Intuitive capture tools – Annotation and editing options – Cloud sharing | Free |
| Snagit | – Comprehensive screenshot and screen recording – Advanced image editing – Cloud integration | $49.95 (one-time purchase) |
| Monosnap | – Streamlined capture and editing – Cloud storage integration – Keyboard shortcuts | Free (with premium features available) |
| CleanShot X | – Scrolling page capture – GIF recording – Customizable mac screenshot app and screenshot shortcut mac | $29 (one-time purchase) |
Explore these top mac screenshot app options to find the perfect tool for your workflow. Try different features to see what suits you best.
Conclusion
In this guide, you’ve learned how to take screenshots on your Mac easily. You can use keyboard shortcuts, built-in tools, or third-party apps. Now, you know how to take control of your screen capture needs. Start using the techniques and tools that work best for you to make great screenshots.
You’ve learned about quick keyboard shortcuts and the Grab tool. These options meet different screenshot needs. By using the built-in features and settings, you can make the how to take a screenshot on a mac process fit your style. This ensures you work efficiently and flexibly every day.
Keep exploring the power of mac screenshot technology. Try different methods to see what works best for you. With this knowledge, you can improve your visual communication, documentation, and teamwork. Make the most out of your Mac’s screenshot features.
FAQs:
Taking a screenshot on your Mac is easy. Use the keyboard shortcut Command + Shift + 3 for the whole screen. Or, use Command + Shift + 4 to pick a specific area.
Screenshots go to your desktop by default. You can change this by adjusting screenshot settings in the macOS Preferences.
Yes, editing screenshots is possible. Use the Preview app or third-party tools. You can add text, draw shapes, and make adjustments to improve your screenshots.
The Grab utility is a tool built into your Mac. It lets you take screenshots of the whole screen, a window, or a part of the screen. You can also delay the capture by setting a timer.
Yes, there are third-party apps like Lightshot, Skitch, and Monosnap for Mac. These apps offer extra features like shortcuts, editing tools, and cloud sharing.
Customize your screenshot settings in the macOS Preferences. Here, you can change the file format, save location, and more to make screenshotting easier.
